Hi, I'm Ryan! 🤘
I craft unique, impactful websites–let's chat!
Helping everyone from large companies to small and local businesses grow with personal, tailored web solutions.
What I Do ✨
I'm a web developer and engineering leader that's worked at startups, agencies, and enterprise companies. I also help smaller businesses grow with my ideas, skills, and experience.
💻 I Make Websites!
Whether it's a quick site refresh, a dynamic, easy-to-update product catalog, or a custom full-stack app—I help small businesses bring their ideas to life online. From local breweries to arcades to startups, I build websites that reduce friction and increase joy.
I turn "we should fix our website" into "wow, our website actually works for us."
💪 What I Can Help With
Not sure where to start? I'll review your current site and give you clear, practical options to make your website work for you:- Improve your customer's experience so they can clearly see how your business can help them.
- Streamline the way your business runs online so you can focus on the important stuff.
- Help you reach more of the right people so you can grow your business.
🎯 Engineering Leadership
Leading a dev team isn't just about standups and sprint boards, it's about helping people do their best work while building products that actually ship.
I make small teams work like big ones (without the bureaucracy)!
💪 What I Can Help With
Management & Delivery
- Project roadmaps that are realistic.
- Technical strategy that matches your business goals.
- Lightweight processes that keep things moving.
Leadership & Growth
- Scaling teams without the growing pains.
- Hiring the right developers for your stage.
- Coaching and mentoring to level up your team's skills.
My Work 🎨
The good stuff! Here's a peek at what I've been cooking up lately.

Portfolio
Explore my recent web development projects showcasing modern frameworks and best practices.
View All Projects →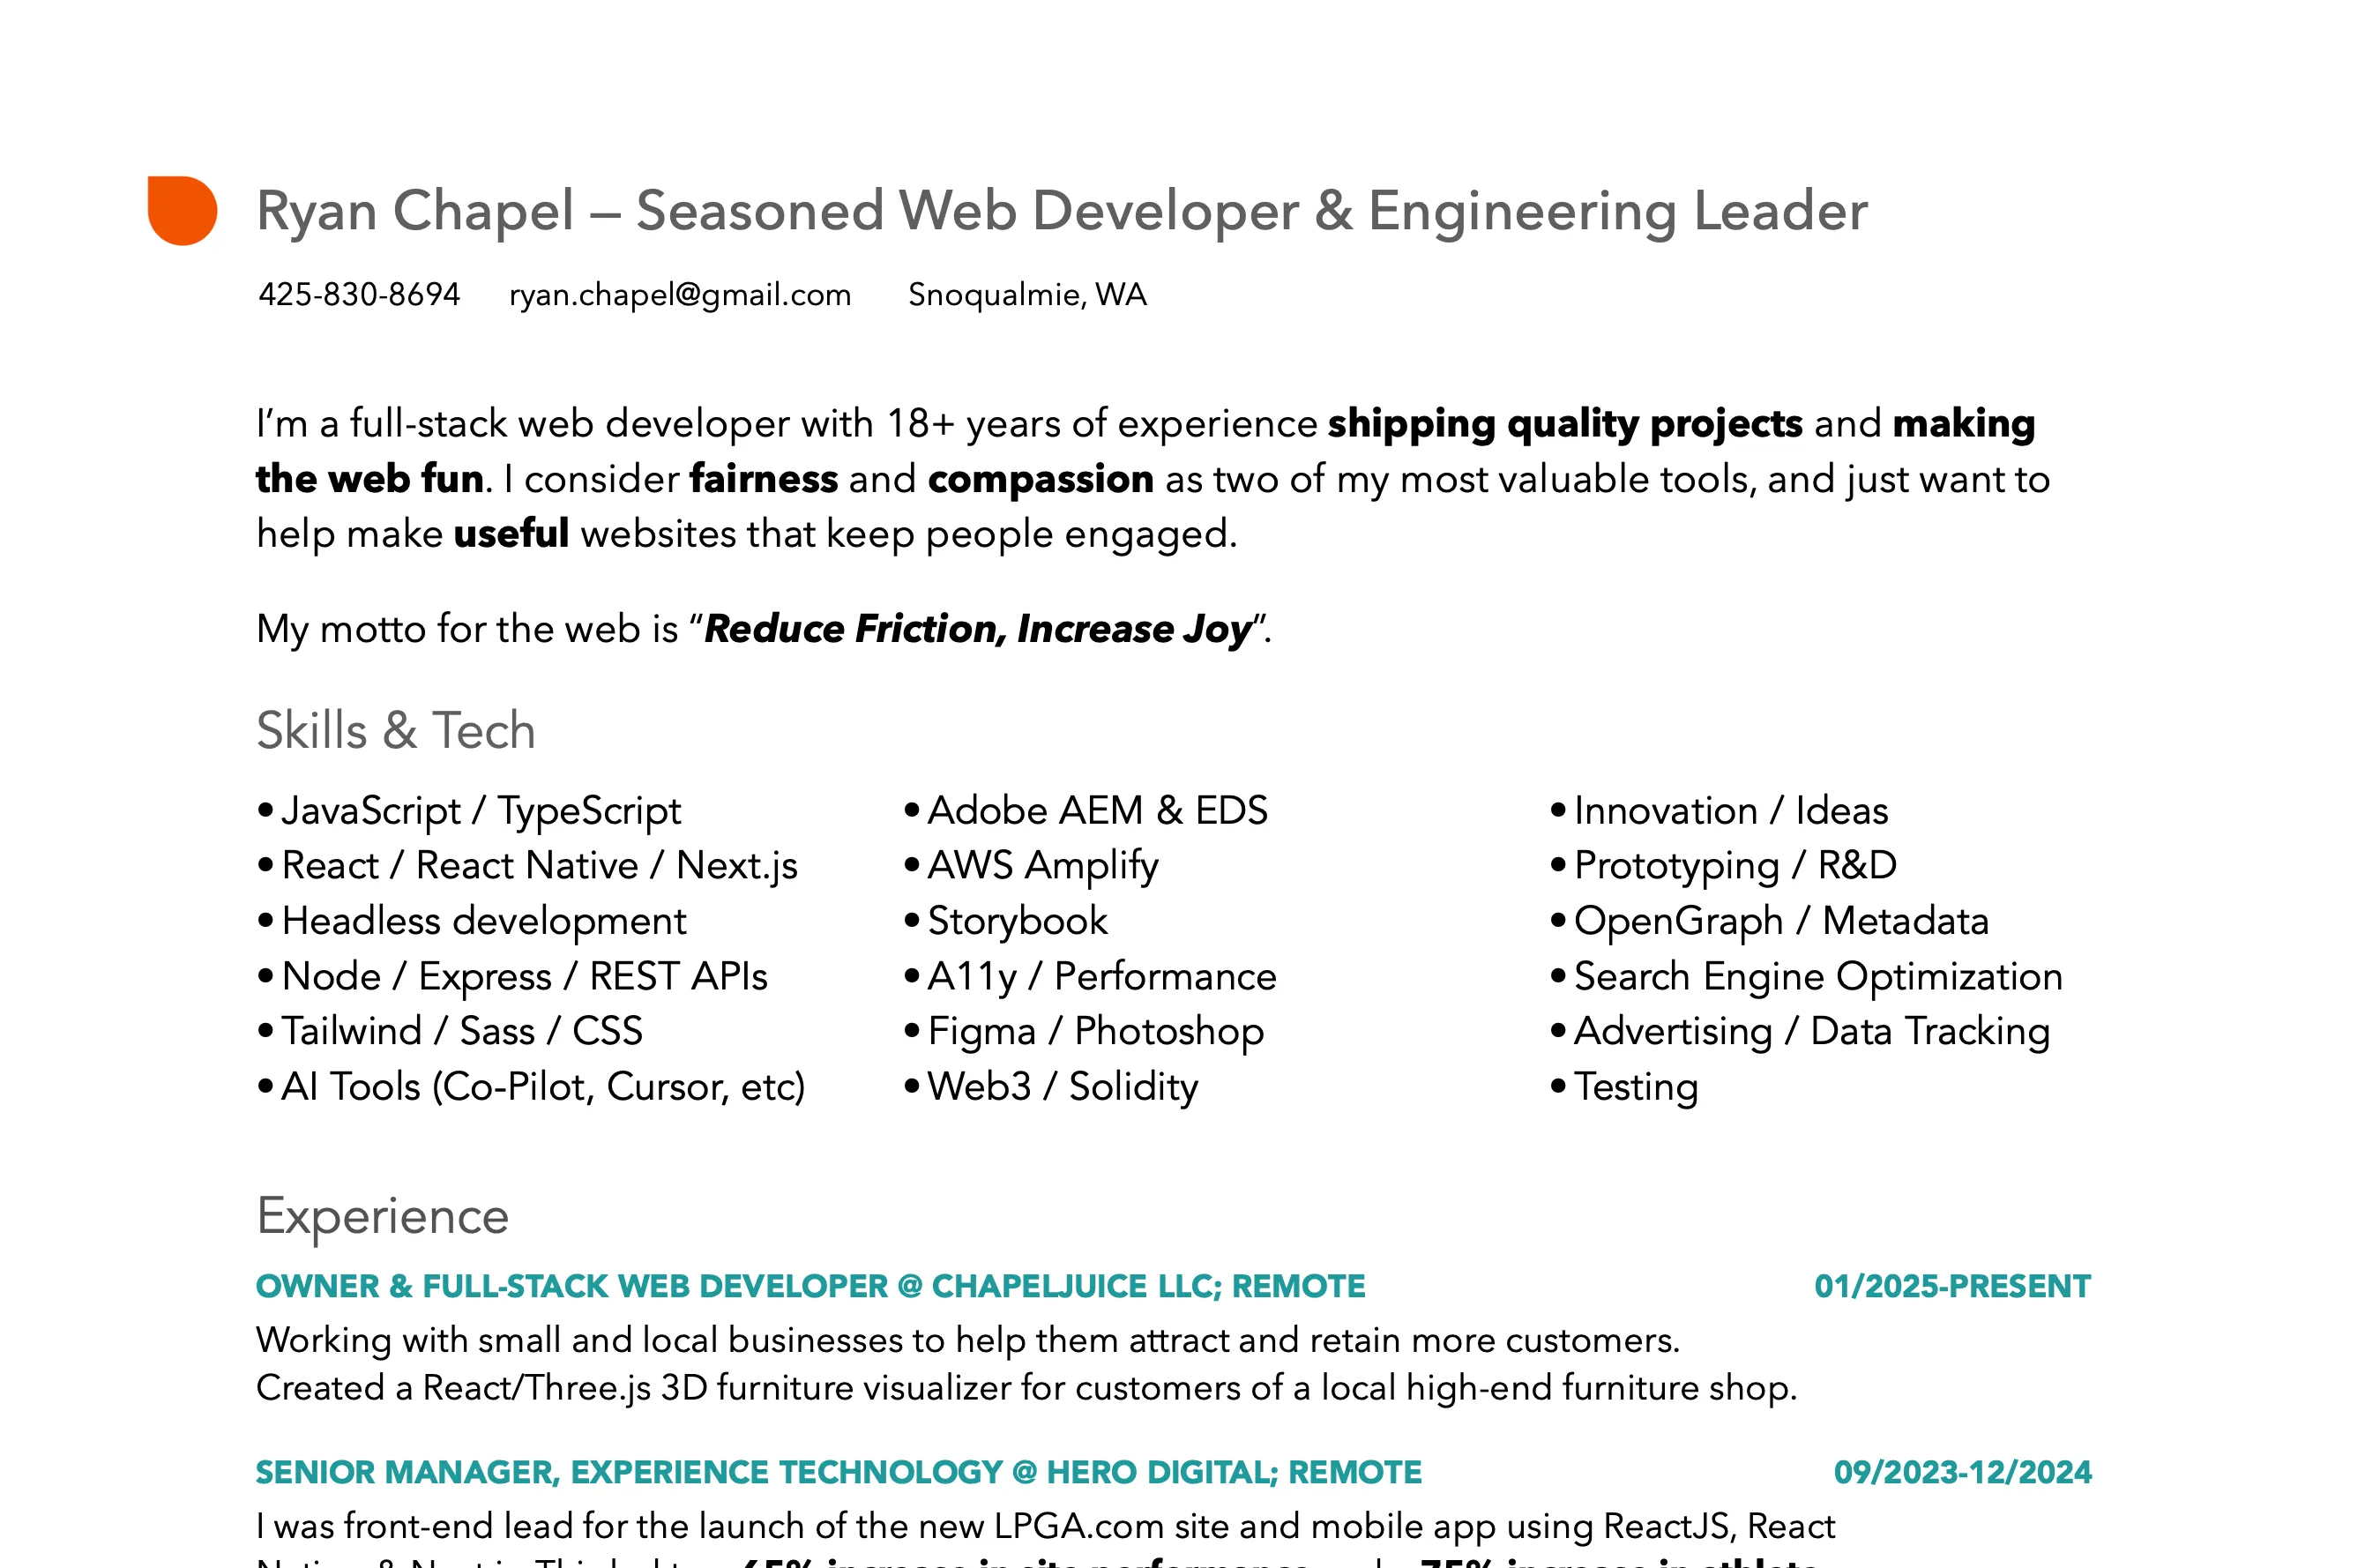
Resume
View my resume and learn more about my professional background and experience.
Download Resume →